

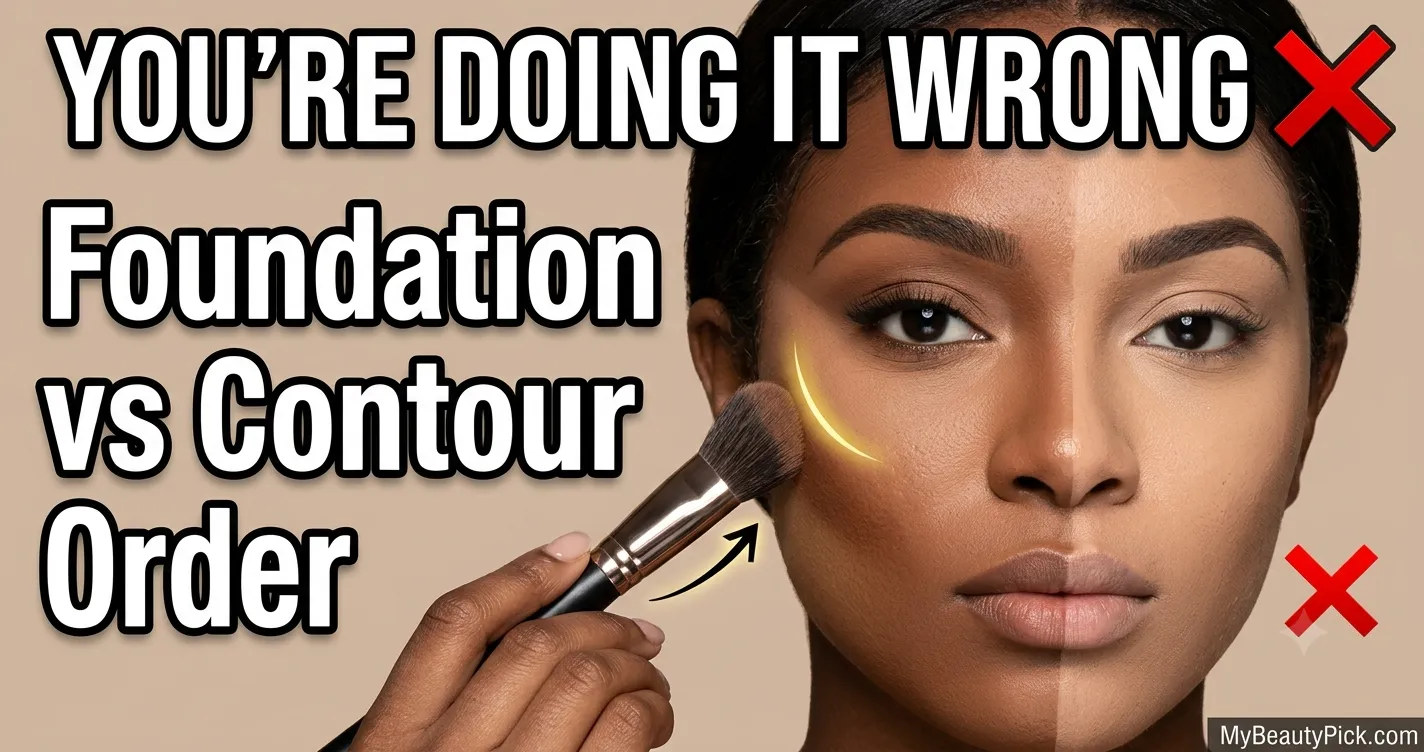
Foundation and contour go together on paper. In practice, the order you apply them changes everything about the finish you end up with. Get it right and the sculpting looks dimensional, skin-like, lived-in. Get it wrong and you end up with muddy lines, patchy blending, or a contour that disappears the moment foundation goes on top. This guide covers both techniques honestly, explains the formula rule that most tutorials skip, and gives you the step-by-step for whichever approach suits your skin and the look you’re building.
- Foundation first, then contour is the standard method. It gives you the most control, works with every foundation formula, and suits every skill level.
- Contour first (underpainting), then foundation gives a softer, more diffused sculpt. It only works with cream or liquid contour under a light-to-medium coverage foundation.
- The formula in your contour product, not personal preference, determines which order is technically correct.
The Rule Nobody Talks About: Formula Determines Order
Most tutorials frame this as a style choice. It isn’t. The order of foundation and contour is primarily a formula compatibility question, and applying products in the wrong sequence relative to their texture is what causes patchiness, pilling, and colour that looks muddy rather than dimensional.
The rule is simple: wet products go under wet products, dry products go over dry products. In practical terms:
- Cream or liquid contour belongs under or alongside liquid foundation, never over powder
- Powder contour belongs after foundation and after any setting powder, never under liquid formulas
If you press powder contour onto bare or primed skin and then try to blend liquid foundation over it, the liquid foundation picks up the dry pigment as it moves across the surface. You get streaks, uneven coverage, and a muddy base that doesn’t blend out no matter how much you work it.
Going the other way is equally problematic. Applying cream or liquid contour on top of a fully powdered foundation disrupts the dry surface beneath. The product balls up, resists blending, and sits visibly on top of skin rather than integrating into it.
If you’re using a powder contour and a liquid foundation, there is only one correct order: foundation first, set it lightly, then powder contour on top. Reversing this because you saw an underpainting tutorial will not work. Underpainting requires cream or liquid formulas throughout.
Method 1: Foundation Before Contour (The Classic Order)
This is how the majority of working makeup artists approach a full sculpted base. Foundation goes on first, creating an even, consistent canvas. Contour is applied on top, placing shadow exactly where you want it with full control over intensity. Nothing about the process is ambiguous: you can see precisely where the contour lands, build it up in thin layers, and correct placement without disturbing the base underneath.
The classic order also works with every combination of products. Liquid, powder, stick, pressed, or cream contour can all go over a set liquid foundation. It’s the technically safe default, and for anyone new to contouring, it’s significantly easier to get right.
- All skin types
- All skill levels
- Powder and cream contour both
- Full or medium coverage foundations
- Any occasion requiring defined sculpt
- Humid or oily-skin conditions
- Photography and video
- Over-blending powder contour into a set foundation removes it
- Heavy-handed application on bare foundation reads harsh before blending
- Using a cream contour directly over a powder-set foundation causes pilling
- Needs confident, directional blending to avoid muddying the base
Step-by-Step: Foundation First, Then Contour
-
1Prep and prime
Cleanse, moisturise, and let everything absorb fully before touching a brush. On oily skin, a light mattifying primer on the T-zone helps contour adhere later without sliding. Allow primer to reach a slightly tacky, not wet, state before moving on. -
2Apply foundation
Work with whatever coverage suits your skin. A damp sponge gives the most seamless base for layering contour on top. Apply in thin layers, build where needed, and let it sit for 30 seconds to begin setting before adding anything else. -
3Conceal where needed
Apply concealer under the eyes and on any spots, then blend. This goes before setting powder so that the powder can lock everything in place in one step. -
4Set lightly (for powder contour only)
If you’re using a powder contour, press a thin layer of translucent setting powder over the face first. This creates the right dry surface for powder to adhere to and blend cleanly. Skip this step if you’re using a cream contour over liquid foundation. -
5Apply contour in thin layers
Start with less product than you think you need. For powder contour, use a cool-toned angled or contour brush. For cream contour over unset liquid foundation, use a dense brush or the pointed tip of a damp sponge and press the product in. Never drag cream contour across a liquid base with a sweeping motion; it lifts and moves the foundation underneath. -
6Blend upward, not downward
On the cheeks, blend in an upward direction toward the temple. Downward blending drags the shadow toward the jaw and creates a heavy, dropped-cheek effect that ages the face. Along the hairline and jaw, blend outward to soften all edges until no harsh lines remain. -
7Add blush and highlighter
Blush goes on after contour, placed higher on the cheekbone to lift. Highlighter sits above the contour on the cheekbone, down the nose bridge, and above the upper lip. Keep these in powder form to stay compatible with the base beneath. -
8Set with a light dusting and setting spray
A translucent powder pressed lightly over oily zones locks everything in place. Follow with a fine mist of setting spray to meld all the layers together and give the base a natural, skin-like finish rather than a visibly powdered one.
When applying powder contour over a set foundation, use a stippling motion with a fluffy angled brush rather than dragging the brush across the skin. Dragging picks up the foundation beneath and muddies the contour colour. Stippling deposits it cleanly. Once the product is placed, you can then use small circular motions to blend the edges only, not the centre of the contour placement.
Method 2: Contour Before Foundation (Underpainting)
Underpainting is the technique that Mary Phillips, the makeup artist responsible for Hailey Bieber’s and Kim Kardashian’s skin looks, has described as “the bones of the face before the skin goes on top.” The idea is to build the structure of the face with contour, highlight, and blush on a bare or minimally prepped canvas, then apply a sheer-to-medium coverage foundation as the final layer. The foundation acts as a veil, softening and diffusing the sculpting underneath so that it reads as natural shadow rather than visible makeup.
It’s a method that has existed in professional makeup for decades. What changed recently is that the technique became accessible and visible through social media, and the results are genuinely compelling when executed correctly. The finish is more naturally dimensional than traditional contouring because the sculpting comes from within the base rather than sitting on top of it.
The catch is significant: underpainting only works within a narrow set of conditions. Cream or liquid products throughout, a sheer to medium coverage foundation, and a light touch are all non-negotiable. Step outside those parameters and the technique fails.
- Cream or liquid contour exclusively
- Sheer to medium coverage foundation
- Normal, dry, or mature skin
- Natural daylight looks
- Minimal-makeup aesthetic
- Skin that photographs well with soft dimension
- Those who find traditional contouring looks harsh
- You’re using a full-coverage foundation (it covers everything)
- You’re using a powder contour (formula incompatibility)
- You have oily skin (cream layers increase slip)
- You need a bold, defined sculpt for photography or events
- You apply too much contour underneath (the foundation won’t correct over-placement)
Step-by-Step: Contour Before Foundation (Underpainting)
-
1Moisturise and prime only
Skip heavy primer. A light, skin-like base is what allows cream products to blend and move freely. Too much silicone primer makes everything slip unpredictably once foundation goes over it. -
2Colour correct if needed
If you have dark circles or significant redness, a light colour corrector before contour helps prevent discolouration from muddying the contour shade beneath. Keep it thin. -
3Apply cream contour sparingly
Use a cream stick or liquid contour and apply half the amount you’d normally use. The foundation going over the top will amplify the colour, so what looks too light at this stage usually reads correctly once foundation is blended over it. Place contour in the hollow of the cheekbones, temples, along the hairline, and under the jaw. -
4Add cream highlight and blush
Place a lighter shade or concealer on the high points: tops of the cheekbones, down the nose bridge, above the upper lip, centre forehead. Add cream or liquid blush to the apples of the cheeks. Blend the edges loosely but don’t aim for a fully blended finish at this stage. The foundation will do the final diffusing. -
5Apply foundation by pressing and rolling, not sweeping
This is the most critical step in underpainting. Load a damp sponge or fluffy brush with a small amount of sheer to medium foundation and apply it using a dabbing or pressing-and-rolling motion. Sweeping strokes will drag the contour sideways, creating streaks and destroying placement. Press gently, work in sections, and stop when the foundation covers the base without fully obscuring the sculpting beneath. -
6Assess and add powder contour if needed
Once the foundation is on, step back and assess the sculpt. If you want more definition, this is the moment to add a light layer of powder contour on top. Many professionals use a light underpainting for the base dimension, then refine with a minimal powder contour on top. The result is depth that reads naturally in every lighting condition. -
7Set selectively and finish with setting spray
Press a light translucent powder only on oily areas. Over-powdering after underpainting flattens the dimension you built underneath. A setting spray is more important here than in the classic method because it melds cream and liquid layers together and reduces any slippage over the course of the day.
Mary Phillips, whose underpainting technique defines the look of some of the most photographed faces in the world, is specific about this: use less contour than feels right at the placement stage. “Underpainting amplifies. What looks barely there on bare skin reads correctly once foundation layers over it.” The most common underpainting error is applying a full contour, watching it disappear under foundation, then adding more. By the time the look is finished, there’s too much product and the sculpt looks unnatural rather than dimensional.
Choosing the Right Contour Shade
Order and technique only work if the contour colour is right to begin with. The shade does most of the heavy lifting in terms of whether the result reads as natural shadow or obvious makeup.
Contour products should be cool-toned and grey-brown, not warm or orange. The reason is anatomical: natural shadows on the face are created by light not hitting certain areas. Shadows are inherently neutral to cool. If you use a warm bronzer-toned product in contour positions, it reads as tan rather than shadow, and the face looks dirty rather than sculpted.
| Skin Tone | Contour Shade to Look For | Shade to Avoid |
|---|---|---|
| Fair to light | Cool taupe, greige, or soft grey-brown; 1 to 2 shades deeper than skin tone | Orange, copper, or overly warm brown shades; these look dirty, not sculpted |
| Light to medium | Neutral to cool brown; slightly deeper with a grey or pink undertone | Warm chestnut or bronze tones that sit too close to the skin’s warmth |
| Medium to tan | Cool-toned medium brown; some warmth is fine, but the overall tone should lean neutral | Very dark brown that jumps more than 3 shades deeper than the skin |
| Deep to rich | Deep neutral to cool brown; some red-brown works here where it reads as shadow | Overly ashy or grey tones that look flat rather than dimensional on deeper skin |
The shade gap between your foundation and contour should be roughly one to two shades. Larger than that and the shadow looks theatrical. Smaller and it disappears, especially after blending. A two-shade jump is the sweet spot for most everyday looks; go three shades deeper only if you’re working toward a bold sculpt for photography or evening wear.
Contour Placement by Face Feature
Placement matters as much as order and shade. Applying contour in the right anatomical positions is what makes sculpting look like it belongs on your face rather than being drawn on it.
Cheekbones
Place contour in the hollow beneath the cheekbone, starting from the ear and drawing toward the corner of the mouth, stopping before you reach the nose. The blend direction is upward and toward the temple, not downward. A downward blend creates a tired, heavy look. The contour should sit entirely below the cheekbone, with blush placed above it on the cheekbone itself.
Temples and Forehead
A C-shape of contour sweeping from the hairline at the temple, curving across the outer forehead, is one of the most effective ways to slim and define the upper face. Many people skip the forehead entirely, but leaving it flat while sculpting the cheeks creates an imbalanced result. Keep it soft, just a shadow along the hairline, nothing heavier.
Jawline
Contour below the jaw rather than along it. Drawing contour along the top of the jaw in a stripe makes the jaw look lower rather than defined. Apply slightly under the jawline, then blend downward into the neck. The result is a lifted jaw with no visible line of demarcation at the neck.
Nose
Nose contouring requires a lighter touch than any other placement. Two thin lines along either side of the nose bridge, kept close to the nose rather than spreading outward, narrow the appearance without looking drawn-on. Blend with a small dense brush or fingertip. Precision matters more here than anywhere else on the face. Heavy blending loses the definition; too little blending looks obvious.
Common Mistakes That Undermine the Sculpt
-
Using a bronzer as a contour. Bronzer adds warmth and sun-kissed colour, which is exactly the opposite of what a shadow does. The two products serve different purposes. A bronzer used in contour positions looks like a tan, not a shadow. If you only own bronzer, place it where the sun would naturally hit: cheekbones, nose tip, forehead centre, not in the hollow beneath the cheekbone.
-
Starting with too much product. Contour placed too heavily before blending rarely blends down to a natural finish. It either stays too dark or blends into a muddy smear. Start with a faint placement and build gradually. Going lighter first is recoverable; starting too heavy almost always requires foundation to be re-applied over the area.
-
Blending downward on the cheeks. Downward blending moves the contour toward the jowl area and creates a heavy, drooping effect. Blend upward and outward toward the temple, every time. The direction of the blend determines whether the face looks lifted or dropped.
-
Placing contour too low on the face. Contour that sits at or below the corner of the mouth drags the entire face down. The hollow of the cheekbone is the reference point: everything should sit at or above that line. If you struggle to find it, suck in your cheeks slightly and feel for the depression with your fingers.
-
Sweeping foundation over underpainting. In underpainting specifically, the application motion for the foundation is the most technically sensitive part of the whole process. Sweeping drags the contour sideways. Pressing and rolling respects the placement beneath. The wrong motion is very difficult to recover from without starting the base again.
-
Mixing powder contour into an underpainting routine. Powder doesn’t sit under liquid foundation cleanly. Trying it creates patchiness and uneven colour that foundation cannot blend over. If you want underpainting, your contour must be cream or liquid.
Which Method Is Right for You
| If You… | Use This Method | Why |
|---|---|---|
| Are new to contouring | Foundation first | Full control over placement; mistakes are easier to correct; works with all products |
| Have oily skin | Foundation first | Multiple cream layers increase slip and reduce wear on oily skin; powder contour over set foundation is more stable |
| Want a soft, natural sculpt for daily wear | Underpainting (contour first) | The foundation veil diffuses the contour into a skin-like shadow rather than visible makeup |
| Have dry or mature skin | Underpainting (contour first) | Fewer powder layers; cream formulas sit more comfortably and don’t settle into lines |
| Need a defined, bold sculpt for events or photography | Foundation first | Sharper definition; full control over intensity; holds better under lighting and over long wear |
| Use full-coverage foundation | Foundation first | Full coverage will cover underpainting completely; there is no point attempting underpainting with an opaque base |
| Use a powder contour | Foundation first (only option) | Powder contour cannot go under liquid foundation without formula incompatibility |
Frequently Asked Questions
Do you put foundation on before or after contouring?
For most people, foundation goes on first. This is the standard method used by most professional makeup artists for everyday and editorial work. It gives you a clean canvas, lets you place contour with full precision, and works with every formula combination.
Contour before foundation, known as underpainting, is a valid alternative that creates a softer, more diffused sculpt. But it only works with cream or liquid contour under a sheer-to-medium coverage foundation. If you use a full-coverage foundation or a powder contour, foundation must go on first.
Foundation before contour or after: which gives a more natural look?
Underpainting (contour before foundation) gives the most natural finish because the foundation diffuses the sculpting into a soft shadow rather than letting it sit sharply on top of the base. The result reads as dimension, not makeup.
Foundation first with a lightly applied powder contour can also look natural if you keep the product minimal and blend thoroughly. The main difference is that underpainting is forgiving of heavy contour application because the foundation softens it, while foundation-first contouring requires more precise, restrained placement from the start.
Can I apply cream contour over liquid foundation?
Yes, but the liquid foundation must be dry, not still tacky or wet. If you press cream contour onto wet liquid foundation, the two formulas combine into a smudged layer that’s very hard to blend cleanly. Wait 30 to 60 seconds after foundation application, then use a pressing motion (not sweeping) with a dense brush or sponge tip to place and blend cream contour.
Do not use cream contour over a foundation that has been set with powder. The powder creates a dry, incompatible surface and the cream will not blend. If you want cream contour over powder-set foundation, it is technically possible only if you apply a fine mist of setting spray first and allow it to dry completely, though this is not best practice.
What is underpainting in makeup?
Underpainting is a technique where cream or liquid contour, highlight, and blush are applied to bare, primed skin before foundation. A sheer-to-medium coverage foundation is then pressed over the top, diffusing the sculpting underneath into a soft, skin-like finish.
The technique was developed and used by professional makeup artists for years before going viral in late 2025 when Mary Phillips, known for her work with Hailey Bieber and Kim Kardashian, began demonstrating it publicly. The result is a more natural, dimensional finish than traditional contouring because the sculpting appears to come from within the skin rather than sitting on top of it.
Does underpainting work for oily skin?
It can work, but it requires adjustment. Layering multiple cream products under foundation increases the overall slip in the base, which means oily skin breaks the look down faster than drier skin types would. If you want to try underpainting with oily skin, use cream-to-powder formula contour products rather than emollient cream sticks, keep each layer very thin, and set with a light translucent powder over oily zones before applying the foundation on top.
The more reliable approach for oily skin is the classic foundation-first method, with powder contour applied over a set foundation. Powder contour absorbs oil as the day progresses and stays in place more reliably on high-sebum skin.
What is the difference between contour and bronzer?
Contour products are cool-toned and grey-brown, designed to mimic the appearance of a natural shadow. They create the illusion of bone structure by adding depth in specific anatomical positions: the hollow of the cheekbone, the temple, the jawline, and the sides of the nose.
Bronzer is warm-toned, adding a sun-kissed flush of warmth to the areas where the sun would naturally hit the face: the forehead, nose, cheeks, and chin. Bronzer adds colour; contour adds shadow. They are different products used for different purposes. Using bronzer in contour positions reads as a tan rather than a shadow and doesn’t create the sculpting effect that a cool-toned contour does.
How do I stop my contour from looking muddy?
Muddy contour is almost always caused by one of three things: the wrong shade, too much product, or blending technique that drags rather than places.
Shade: if your contour is too warm or too orange, it reads as mud against your foundation tone. Choose a cool-toned, grey-brown shade that is only one to two shades deeper than your skin.
Product amount: loading the brush too heavily puts too much pigment in one pass. Tap off all excess before every application and build the depth gradually in two or three thin passes.
Blending: dragging a brush across the skin after applying contour moves the product sideways rather than blending it into the skin. Use a stippling or small circular motion on the edges only, keeping the centre of each placement dense and only softening the transition zone.
Should I contour before or after blush?
Contour before blush, always. The correct order after foundation is: contour first to place shadow and structure, then blush above the contour on the cheekbone to add colour and lift, then highlighter on top of the cheekbone as the highest layer. This sequence ensures that blush doesn’t interfere with contour placement, and that each product has a clean surface to adhere to.
In underpainting, the sequence is reversed but the relative order of contour and blush stays the same: contour is placed first on bare skin, then blush, then highlight, then foundation over the top of all of them.
- Foundation brush vs sponge: which gives a better finish?
- How to apply liquid foundation for a natural, streak-free base
- Best foundation for oily skin: formulas that actually stay put
- The best foundation brushes: a professional breakdown by finish and formula
- Skin tone vs undertone: what’s the difference and why both matter for makeup