

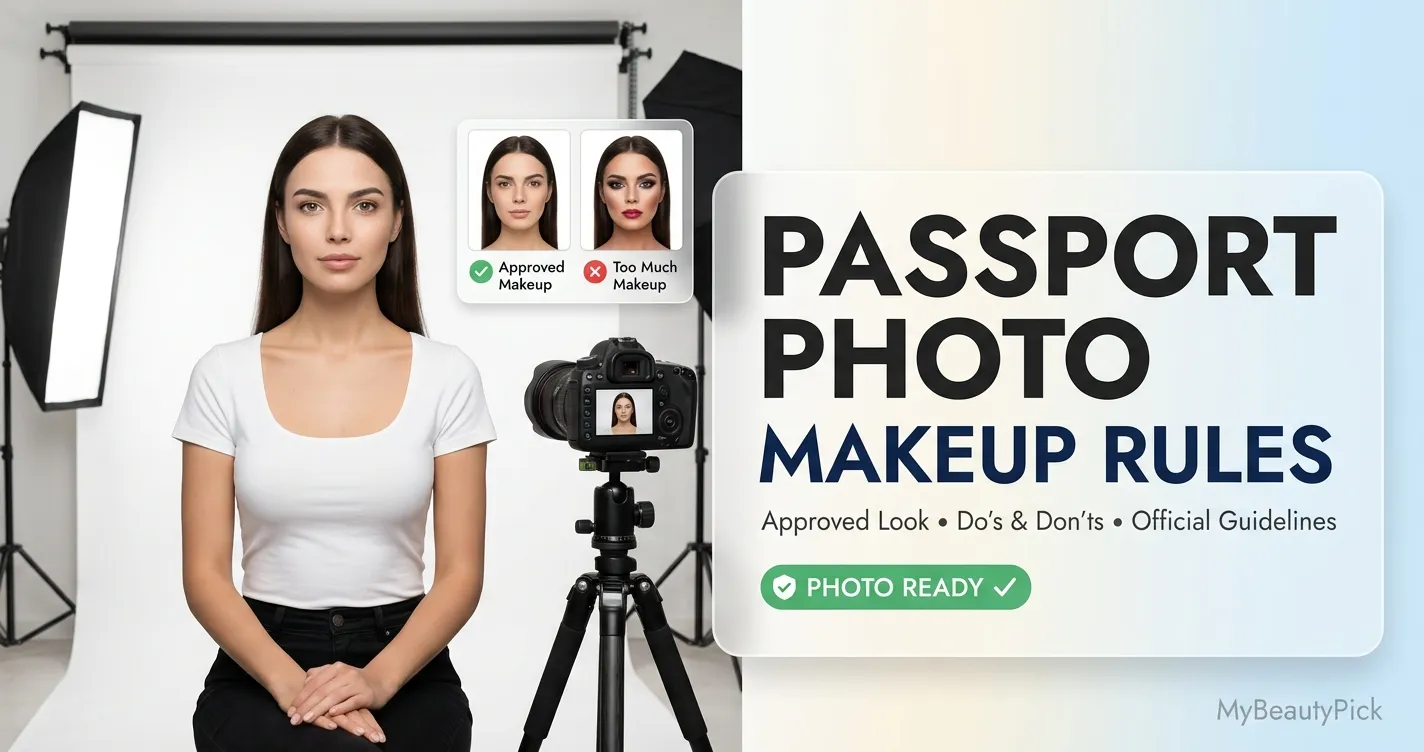
Yes, you can wear natural makeup in a passport photo. The U.S. Department of State does not prohibit makeup, but it does reject photos where makeup creates shadows, alters facial structure, or makes the face look significantly different from your everyday appearance. Light coverage, matte finish, groomed brows, and neutral lips are all safe. Heavy contour, shimmer, overlined lips, and siren-eye liner are not.
The passport makeup trend has been all over TikTok for the past two years, promising a look that makes the notoriously unkind passport photo format work in your favour. Some of those tips are genuinely useful. Others will get your photo rejected, or worse, accepted now but flagged at a border crossing later because you look materially different from your document.
This guide separates what is safe to borrow from the viral trend, what to skip, and how to build a look that holds up to the bright overhead lighting of a passport photo booth without crossing into anything the State Department would call an alteration.
Official Passport Photo Makeup Rules: What Actually Gets Photos Rejected
The U.S. Department of State does not have a makeup-specific rule. What it does have is a requirement that passport photos must show your “normal, everyday appearance” and must not include any features that “alter” your face. That language is vague enough to cause real confusion, and it is the reason the viral passport makeup trend is worth examining carefully rather than following wholesale.
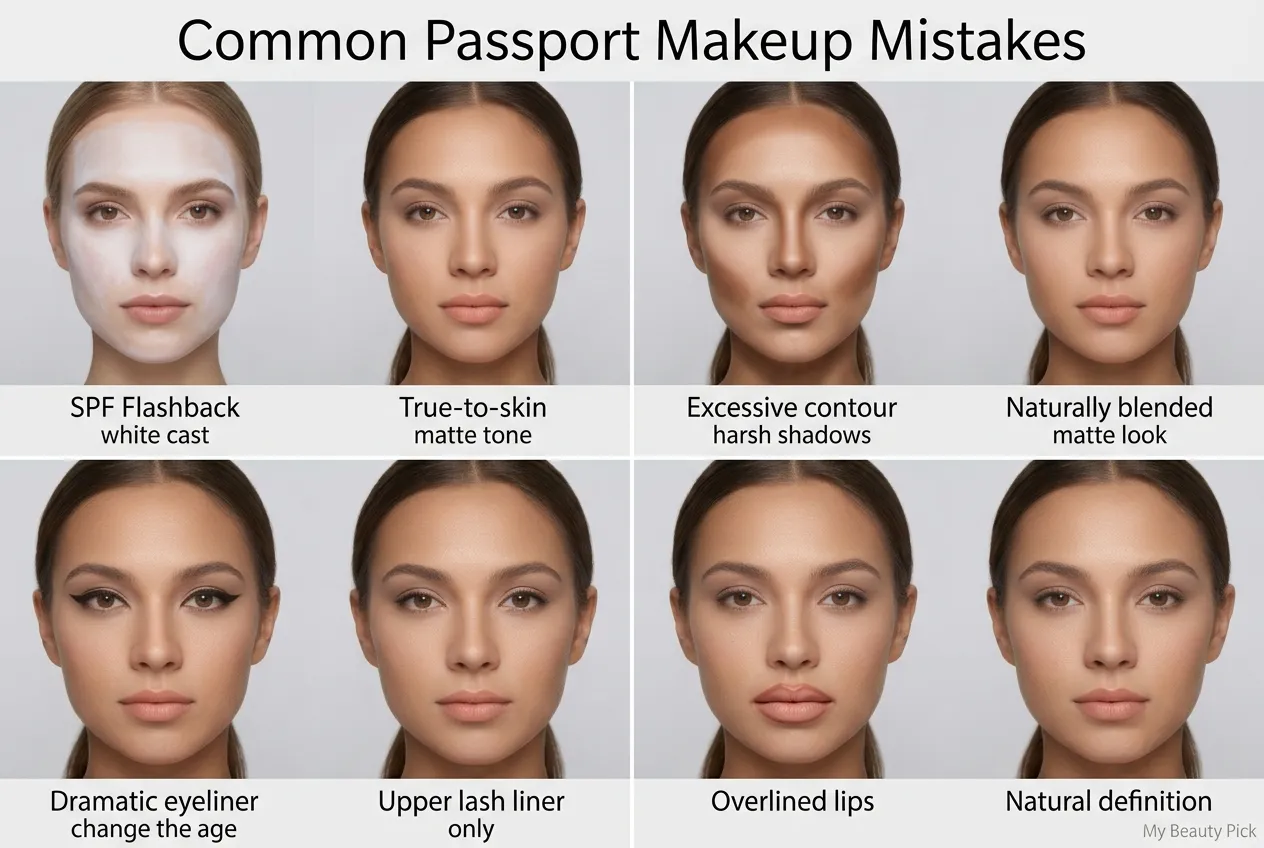
The practical rejection triggers that relate specifically to makeup are narrower than most guides suggest. A photo that shows heavy shadow across the cheekbones from contour can read as a technical issue to automated facial recognition software — the same technology that compares your face at a border crossing to the face in your document. A photo with shimmer-heavy products or high-SPF foundation can produce flashback: a bright white cast that obscures facial features under the flash that passport booths use. Both of these have a real rejection risk, either at submission or at the border years later.
| Rejection Reason | What Causes It | How to Avoid It |
|---|---|---|
| Shadows on the face | Heavy contour, deep blush placed too far under the cheekbone, harsh bronzer | Keep any contouring extremely light; use a shade no more than one tone darker than your skin |
| Flashback / white cast | Products containing SPF, titanium dioxide, zinc oxide, or high levels of mica and shimmer | Use only matte, SPF-free products; avoid anything with visible shimmer or glow in the formula |
| Appearance significantly different from everyday look | Dramatic eye liner extending beyond the natural lash line, overlined lips, heavy full-coverage base that changes skin tone | Keep liner tight to the lash line, lips true to their natural shape, foundation matched to your actual skin tone |
| Covered features | Glasses (always prohibited), head coverings (prohibited unless religious), hair obscuring the face or brows | Remove glasses; pull hair back away from the face; make sure both brows are fully visible |
Passport photo requirements can be updated. The guidance here reflects U.S. Department of State rules as of 2026. Check the official requirements at travel.state.gov before your appointment, particularly if you are applying for a passport of another country, which may have different specifications.
The Viral Passport Makeup Trend: What Is Safe to Borrow and What Is Not
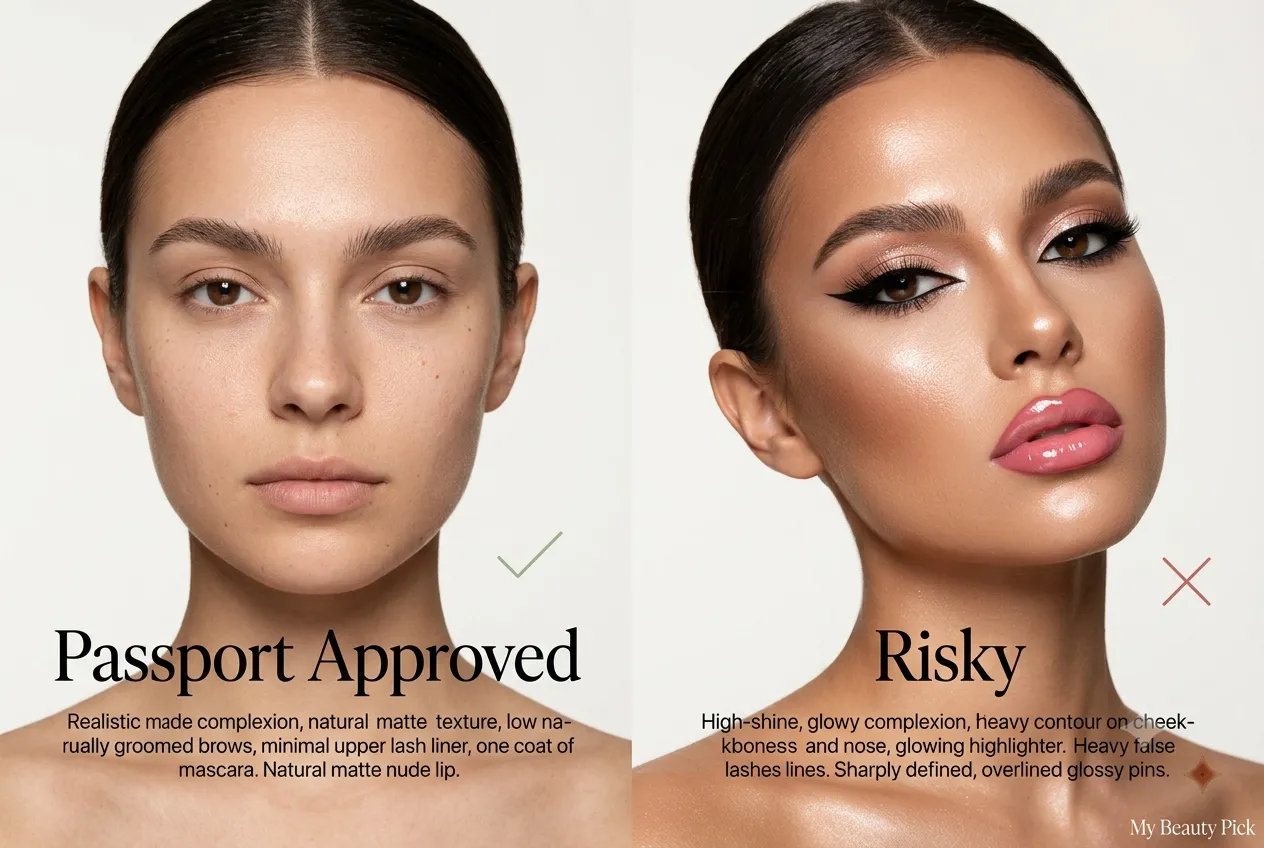
The trend was popularised by creator Georgia Barratt on TikTok and picked up by major editorial outlets. The core idea is smart: use makeup to make your features read clearly under flat overhead lighting, which flattens and washes out most faces. The execution is where some versions of the tutorial cross a line worth noting.
Here is the problem no competitor has addressed directly: some outlets that explain the ‘no alteration’ rule in their FAQ then immediately recommend a contour, siren eye, and overlined lip tutorial in the same article. Those are genuinely contradictory pieces of advice, and following the tutorial version creates real risk.
- Light, matte skin-tint or foundation matched to your skin tone
- Concealer under the eyes to reduce discolouration
- Matte, SPF-free setting powder to prevent flashback
- Groomed, filled-in brows (not over-drawn)
- A very light, matte blush placed on the apples of the cheeks
- Neutral eyeshadow in matte finish to add depth to the lid
- One coat of mascara on upper lashes only
- A nude or natural-toned lip colour true to your lip shape
- Heavy contour with a shade more than one tone darker than your skin
- Shimmer or glow products anywhere on the face
- Foundation or primer with SPF (causes flashback)
- Siren-eye liner extending significantly beyond the outer corner
- Lower lash liner that closes or heavily defines the eye
- Overlined lips outside your natural lip border
- Dramatic highlight on the nose or cupid’s bow
- False lashes or lash extensions that notably change eye shape
Contour: How Much Is Too Much Under Bright Studio Lighting
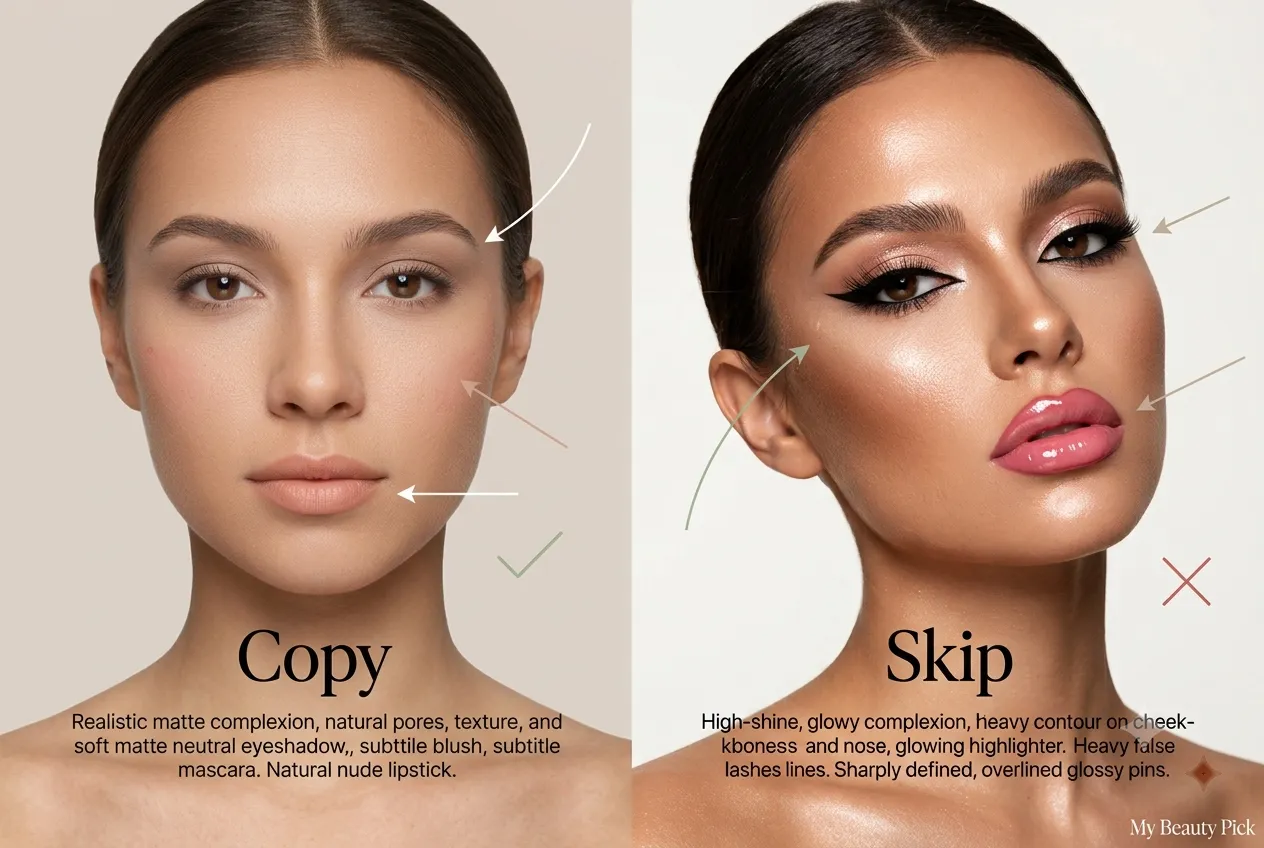
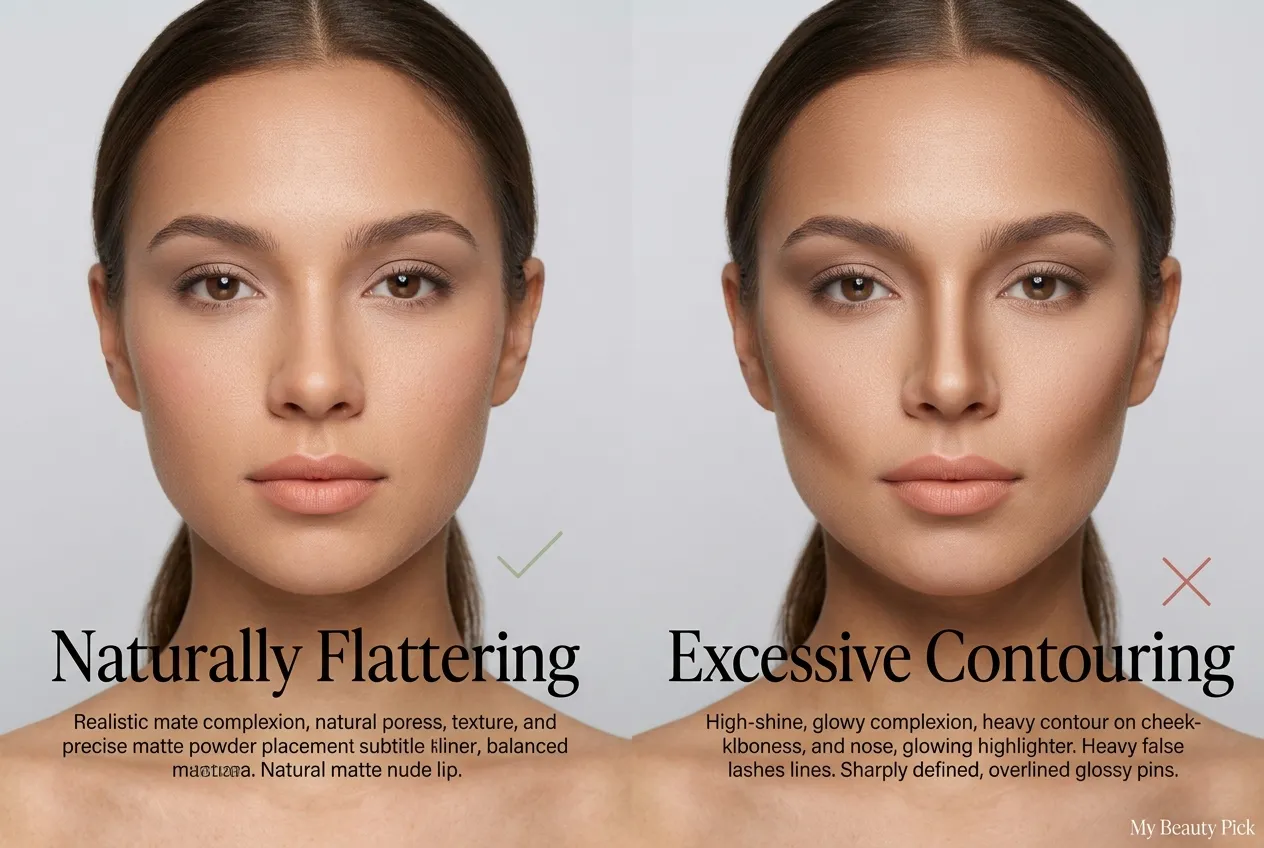
Contouring for a passport photo is not inherently unsafe. The issue is degree. A soft, matte powder shade applied lightly under the cheekbone and blended thoroughly looks like a natural shadow in person and in normal photographs. Under the direct overhead flash of a passport booth, that same product can photograph as a dark band that was not there before — and that is exactly the kind of ‘altered’ facial structure the State Department’s language is designed to flag.
The Reddit thread on r/MakeupAddiction with 230-plus comments on this exact topic makes clear that many people who followed the heavier viral tutorial versions did not see the results they expected in the final photo. The overhead lighting flattens contour rather than amplifying it in the way it works under natural or ring-light conditions. If you want to contour for a passport photo, use the lightest possible matte product and blend until it is almost invisible. The effect you see in the mirror should look like a very subtle shift in depth, not a sculpted shadow.
Concealer and Brightening: Where the Trend Is Actually Helpful
This is the most genuinely useful part of the viral technique. Passport booth lighting is harsh enough to emphasise under-eye discolouration, redness, and uneven skin tone in a way that most everyday lighting does not. A colour-correcting concealer under the eyes, well-blended into a matte-finish base, photographs naturally and serves a real purpose. This is not alteration — it is the equivalent of what a clean, pressed appearance does in any professional identification context.
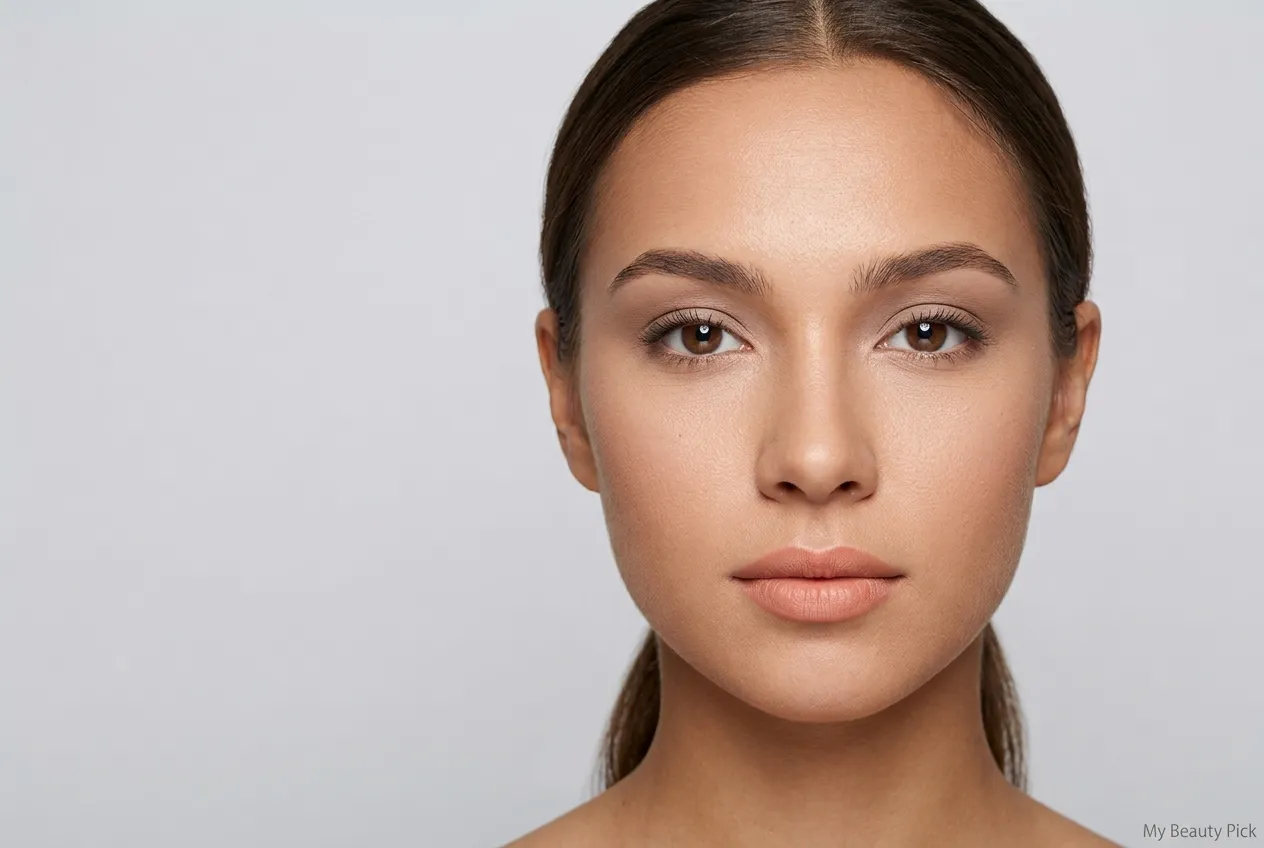
Siren Eye and Overlined Lips: Where the Trend Crosses Into Risk
The siren eye look involves extending liner beyond the outer corner of the eye, often angled downward, to change the apparent shape and lift of the eye. That is a genuine structural alteration to how your eyes appear. Whether it is flagged by a human reviewer or automated biometric software depends on how dramatic the extension is, but any liner that creates a noticeably different eye shape from your natural one is a real risk.
Overlined lips have the same problem. If the line visible in your photo extends outside the border of your natural lip, your face in the photo and your face at the border do not match in a specific, biometrically-relevant way. Natural lip colour and a lip liner used within your natural border is fine. A visible outline beyond the lip edge is not.
Step-by-Step Natural Passport Photo Makeup Look
-
1
Prep the skin
Apply a light, fragrance-free moisturiser and allow it to absorb for five minutes before anything else. Do not use a moisturiser or primer with SPF — these contain titanium dioxide or zinc oxide that cause white cast under flash. A hydrating but non-SPF base keeps the skin from looking dry or tight in the final image.
-
2
Apply a matte, SPF-free foundation or skin tint
Use the lightest coverage that evens your skin tone. A skin tint or light coverage foundation matched precisely to your skin tone will photograph most naturally. Avoid buildable full-coverage formulas — under passport lighting they can look heavier than they do in person. Choose a matte finish; any luminous, dewy, or satin formula will reflect the booth’s flash unpredictably.
-
3
Conceal only where needed
A peach or orange colour-correcting concealer under the eyes neutralises discolouration before your skin-tone concealer goes over the top. Blend both layers thoroughly. Keep coverage concentrated directly under the eye and blend it out softly — any visible edge will photograph as a patch of different colour rather than invisible correction.
-
4
Set with matte, SPF-free translucent powder
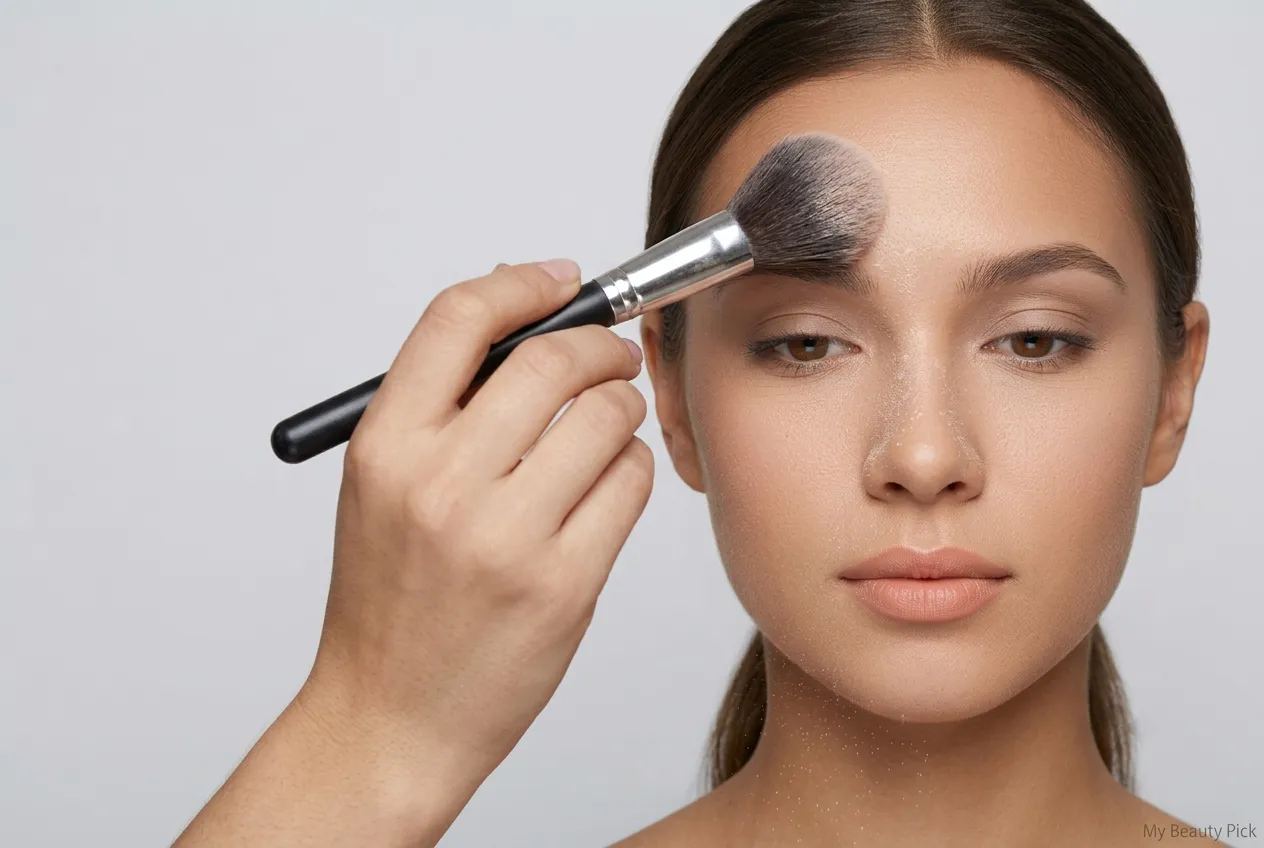
This is the step with the highest return for passport photos specifically. A finely-milled, matte setting powder eliminates the surface shine that booth flash exaggerates into a greasy or washed-out appearance. Use a large fluffy brush rather than a puff to prevent buildup. Focus on the T-zone, forehead, and any areas that tend to reflect light. Confirm the powder you use contains no SPF — many translucent powders include it.
-
5
Fill in brows naturally
Brows frame the face in photographs more than most people expect. A passport photo that shows undefined or sparse brows can look like the person in the photo has subtly different facial proportions from one taken with groomed brows. Use a pencil or powder in your natural brow shade, fill sparse areas with light strokes, and keep the shape within your natural brow line. Do not extend or reshape the arch significantly.
-
6
Add a very light blush in matte finish
Flat lighting removes the natural colour from cheeks in photographs, making faces look flatter and more pallid than they appear in person. A small amount of matte blush on the apples of the cheeks restores that natural warmth without adding structure. Keep it soft and fully blended. Avoid anything with shimmer or a satin finish, and stay on the apples of the cheeks rather than placing it higher toward the temples where it reads as contouring.
-
7
Apply a neutral matte eyeshadow
A wash of matte eyeshadow in a tone close to your skin on the lid adds depth and definition without reading as dramatic. Taupe, warm brown, or a slightly deeper version of your skin tone all work. Blend thoroughly so there is no visible edge. Skip shimmer, glitter, or metallic shadows — these catch flash and create an uneven, reflective appearance in photographs.
-
8
Line the upper lash line only, close to the lash root
A thin line of brown or soft black liner along the upper lash line only, staying as close to the root as possible, makes the lashes look denser and the eye more defined without extending the eye shape. Do not wing it outward or downward. Do not line the lower waterline or lash line — this changes the apparent shape of the eye in a way that is visible in photographs.
-
9
One coat of mascara, upper lashes only
A single coat on upper lashes is all that is needed and all that photographs without looking heavy. Avoid lengthening formulas that create dramatic extension — a volumising or defining formula in black or brown is enough. Skip lower lash mascara for a passport photo: it tends to smudge under flash and makes the under-eye area look dark.
-
10
Apply a nude or natural lip colour within your lip border
Choose a colour that closely matches your natural lip tone or sits slightly warmer or rosier. Matte or satin finish both photograph well. Line with a lip liner within — not beyond — your natural lip border. A lip colour that is dramatically different from your natural lip tone is not a compliance issue per se, but a deeply unusual or very dark shade may read as an alteration under some reviewers’ judgement. When in doubt, stay close to your natural colour.
How to Make Your Face Look Slimmer in a Passport Photo
This is one of the most searched questions about passport photos and the one most guides answer by jumping straight to contour, which, as covered above, is the highest-risk technique to use in a booth setting. There are three safer approaches that have a genuine effect on how the face reads in a photograph.
The first is positioning. Passport photos do not allow you to turn your face to the side, but you can ask the photographer to adjust the camera angle slightly below eye level rather than at chin level. A camera positioned at or just below eye level is more flattering than one looking up at the face. This is a legitimate request and does not violate any photo requirements.
The second is brow grooming. Full, well-shaped brows that sit slightly higher above the eye make the eye appear more open and the face appear more lifted and defined — without any product on the cheeks at all. This is consistently underestimated as a face-shaping tool and it is entirely safe for a passport context.
The third is setting powder placed strategically on the centre of the forehead, the nose bridge, and the chin — the zones that reflect the most light. Matte-ifying these areas means they do not blow out under flash, which naturally makes the face appear more contoured because the light is falling more evenly across it. This is not contouring — it is flash management, and it is the lowest-risk way to achieve a similar visual effect.
Passport booth lighting comes from directly overhead and slightly in front of the face. It flattens everything below the centre plane of the face — including cheekbone contour — and amplifies anything that reflects, including high-cheekbone highlight, shimmer, and SPF flashback. The most effective passport photo technique is removing shine from the centre of the face, not adding shadow to the sides. Setting powder does more work here than any contouring product.
Natural Passport Makeup Across Different Skin Tones
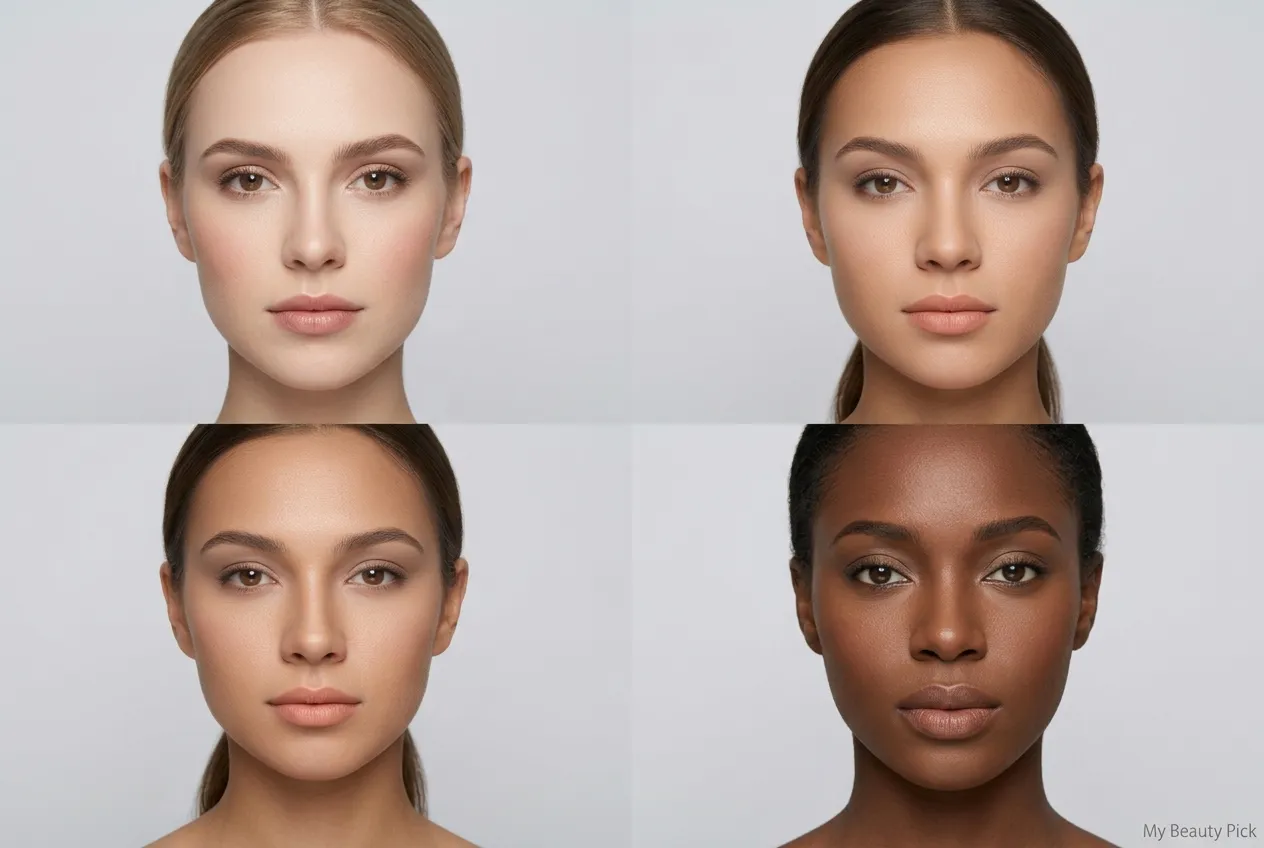
The SPF flashback problem is not equal across skin tones. On deeper skin tones, titanium dioxide and zinc oxide in foundations, primers, and powders create a white cast that is dramatically more visible than on fair skin — the same product that photographs neutrally on a fair complexion can leave a grey or chalky appearance on medium, tan, or deep skin. This is not a cosmetic inconvenience; it is a genuine photo rejection risk because the skin tone in the image no longer matches your actual skin tone. Always confirm that every product in your passport photo routine is SPF-free and does not contain mineral sun filters, regardless of your skin tone.
For very fair skin, the challenge is different. Flash tends to wash out already-light complexions, making the face look flat and featureless. Blush and brow definition matter more here because they provide the warmth and structure the lighting removes. A slightly deeper-than-neutral nude lip also helps prevent the lip from disappearing entirely against pale skin.
For deep skin tones, overly warm or red-toned products can read oddly under booth flash. A neutral to cool blush and a genuinely skin-matched foundation — not one that pulls too golden or too red — photographs most accurately.
What Actually Rejects a Passport Photo Because of Makeup
Most passport photo rejection guides focus on non-makeup reasons: glasses, hats, open mouths, closed eyes. The makeup-specific rejection reasons are real but less commonly discussed, and they fall into two categories.
The first is technical failure. Products with SPF, mica, or shimmer cause flashback that creates a bright white zone on the face. Automated processing of digital passport photos flags uneven brightness distributions in the face region as a potential image quality issue. This is how a heavy highlighter on the nose bridge or a setting spray with a luminous finish can get a photo rejected without a human reviewer even looking at it.
The second is biometric mismatch. Facial recognition systems used at border control compare specific proportions and distances between facial landmarks — the distance between the eyes, the width of the jaw relative to the forehead, the shape of the eye socket. Heavy contour that reads as shadow, dramatically extended eye liner, or overlined lips that change the apparent shape of the mouth all alter some of these reference points. The photo may be accepted at submission — humans reviewing it may not catch the issue — but if a biometric comparison at a border produces a low confidence score, it creates delays and additional screening.
Neither of these risks is theoretical. They are the practical reason dermatologists and professional photographers who specialise in ID photography consistently recommend a lighter hand than the viral trend tutorials suggest.
What to Look for in Products for a Passport Photo
The selection principle is simple: matte finish, no SPF, shade-matched to your actual skin. Beyond that, a few categories are worth specific attention.
For foundation, a skin tint or light-coverage liquid foundation in a matte or natural finish outperforms heavy full-coverage formulas in passport photos. The goal is to even tone, not to create a second skin. Avoid any formula labelled as luminous, radiant, dewy, glow, or skin-perfecting — these all contain light-reflecting particles that will photograph differently than they look in the mirror.
For powder, a finely-milled translucent setting powder without SPF is the single most important product in a passport photo routine. Read the label carefully: SPF is added to many setting powders, including some marketed as invisible or translucent.
For blush, matte only. Cream blush formulas with a natural sheen, powder blushes with shimmer, and anything described as glowy or fresh-looking will reflect flash. A flat matte powder blush in a shade close to your natural flush — not a bold or pigmented editorial shade — is the safest choice.
For eyes, matte eyeshadow in neutral tones and a brown or black defining liner applied close to the upper lash root only. Brown mascara on upper lashes reads more natural than dramatic black for light skin tones; black works well for deeper skin tones where it is closer to the natural lash colour.
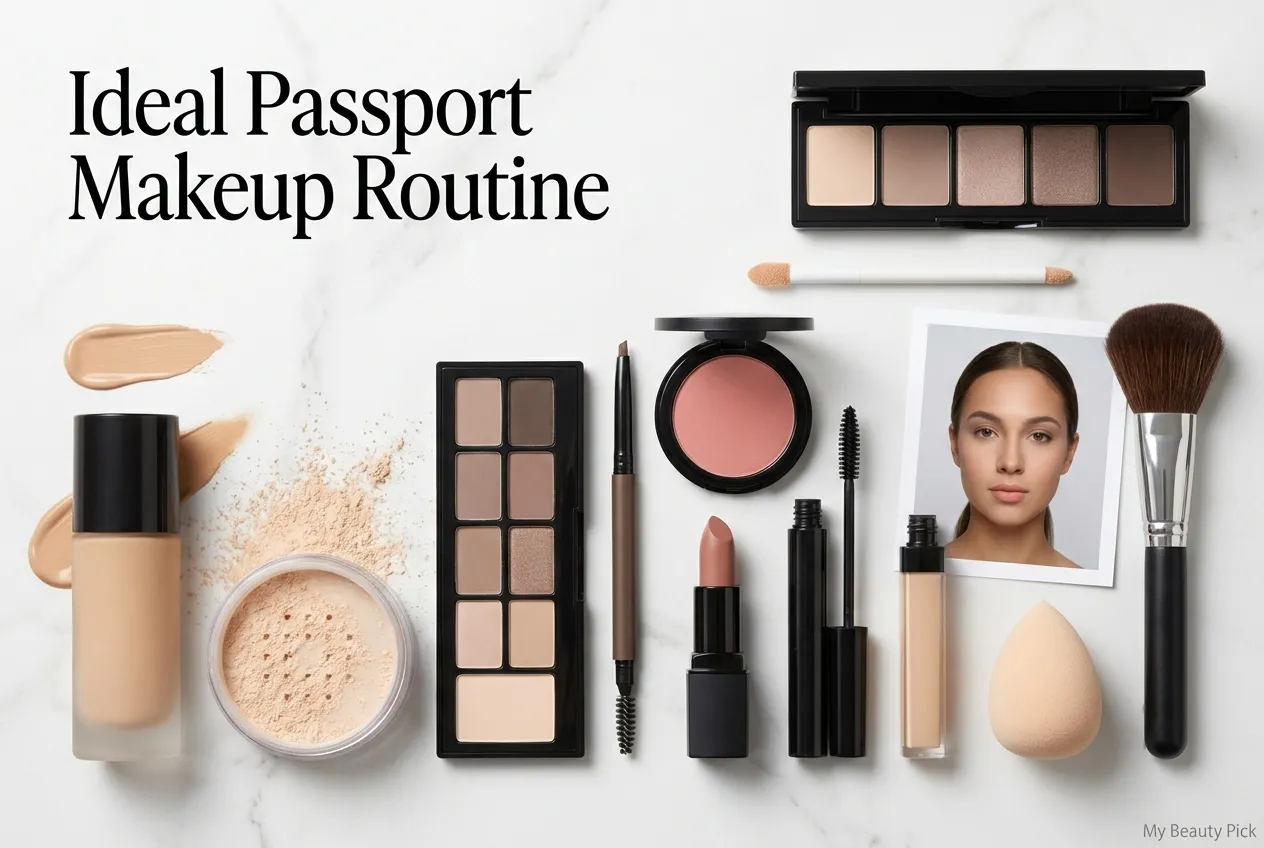
Natural Makeup for a Passport Photo: What the Viral Trend Gets Right and Wrong
The core insight behind the viral passport makeup trend is correct: booth lighting is harsh, flattening, and unforgiving, and a minimal makeup routine improves most people’s photos meaningfully. The execution that several tutorial versions recommend goes further than the official guidelines safely allow.
Natural coverage, matte finish, groomed brows, a light blush, neutral lips, and SPF-free products across every step will produce a photo that looks better than bare skin under harsh lighting and will not create any compliance risk. Heavy contour, shimmer products, siren-eye liner, and overlined lips sit in a genuine grey zone that experienced passport photo reviewers can and do flag.
Use the trend’s logic — prep the skin, even the tone, define the features that flat lighting erases — and leave the editorial elements for another occasion. Your passport lasts ten years.
Frequently Asked Questions
Can you wear natural makeup in a passport photo?
Yes. The U.S. Department of State does not prohibit makeup in passport photos. The requirement is that the photo shows your normal, everyday appearance without features that alter your face. Natural makeup — light matte foundation, concealer, groomed brows, neutral eyeshadow, matte blush, and a nude lip — is fully compliant. The line to avoid is anything that creates shadows, changes facial proportions, or causes flashback under the booth’s flash.
What kind of makeup is best for a passport photo?
Matte-finish, SPF-free products across every step. Light coverage foundation matched to your actual skin tone, a matte setting powder, natural brow pencil, matte blush on the apples of the cheeks, matte neutral eyeshadow, a thin upper lash liner, one coat of mascara, and a nude lip. Avoid shimmer, glow, luminous finishes, and anything containing SPF, titanium dioxide, or zinc oxide, as these cause white cast under flash.
How do you make your face look slimmer in a passport photo?
Three approaches that work without the risk of heavy contour: ask the photographer to position the camera at or just below eye level rather than chin level; groom and fill in the brows to add structure to the upper face; apply a matte setting powder to the T-zone and centre of the forehead to prevent flash from blowing those areas out. These are lower-risk than contouring and have a genuine slimming effect on camera.
What rejects a passport photo because of makeup?
Two categories. First, technical rejection: products containing SPF, shimmer, or mica can cause flashback — a white cast that obscures facial features under the booth’s flash. Second, biometric mismatch: heavy contour shadows, siren-eye liner that significantly extends the eye shape, and overlined lips outside the natural border can alter the facial landmarks biometric systems use for identity verification. Both can cause a photo to be rejected at submission or to create problems at a border crossing later.
Can you wear contour in a passport photo?
A very light, matte contour is possible but carries risk. Booth lighting comes from overhead and flattens everything below the midplane of the face, which means contour either becomes invisible or photographs as a shadow that was not there before — the latter is what creates a rejection risk. If you want to contour, use the lightest possible matte powder shade, one tone darker than your skin at most, and blend until the effect is barely visible in person. Many professional passport photographers advise skipping it entirely.
Does the viral passport makeup trend break passport photo rules?
The lighter versions do not. The heavier versions — particularly those recommending significant contour sculpting, siren-eye liner, and overlined lips — sit in a genuine compliance grey zone. The State Department’s language about ‘no alteration’ is broad enough to include any makeup technique that changes the apparent shape of facial features. The viral trend’s core approach of prepping skin and evening tone is sound. The editorial elements borrowed from camera-optimised social content are less appropriate for an official identity document.
Should you wear SPF moisturiser before a passport photo?
No. Any product containing SPF — including moisturiser, primer, foundation, and setting powder — can cause flashback under the flash used in passport booths. This appears as a bright white cast that obscures features and can cause photo rejection on technical grounds. Use a non-SPF moisturiser as your base, and check every product in your routine for SPF content before your appointment.
Can you wear mascara in a passport photo?
Yes. One coat of mascara on the upper lashes only is fine and photographs naturally. Avoid false lashes or dramatic lengthening mascara that significantly extends the lash line, as this can alter the apparent shape of the eye. Skip mascara on the lower lashes — it tends to smudge under flash and darkens the under-eye area in a way that reads as discolouration rather than definition.